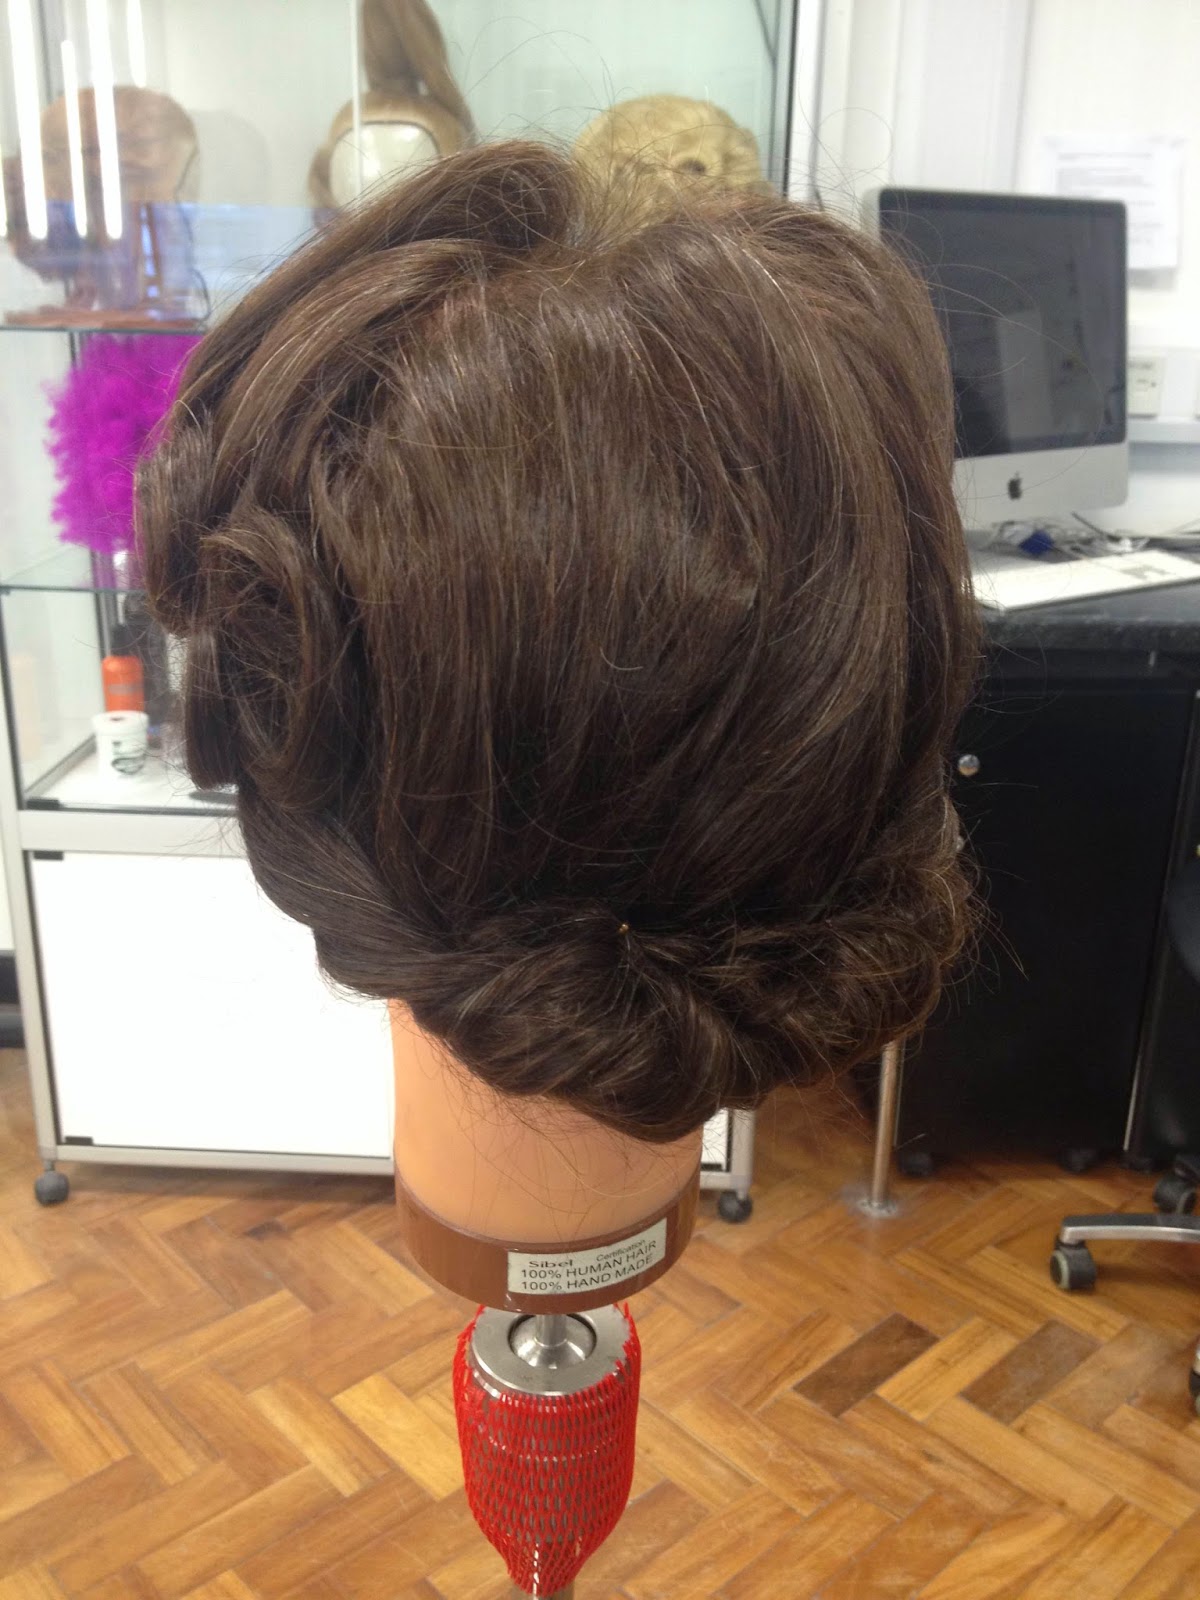
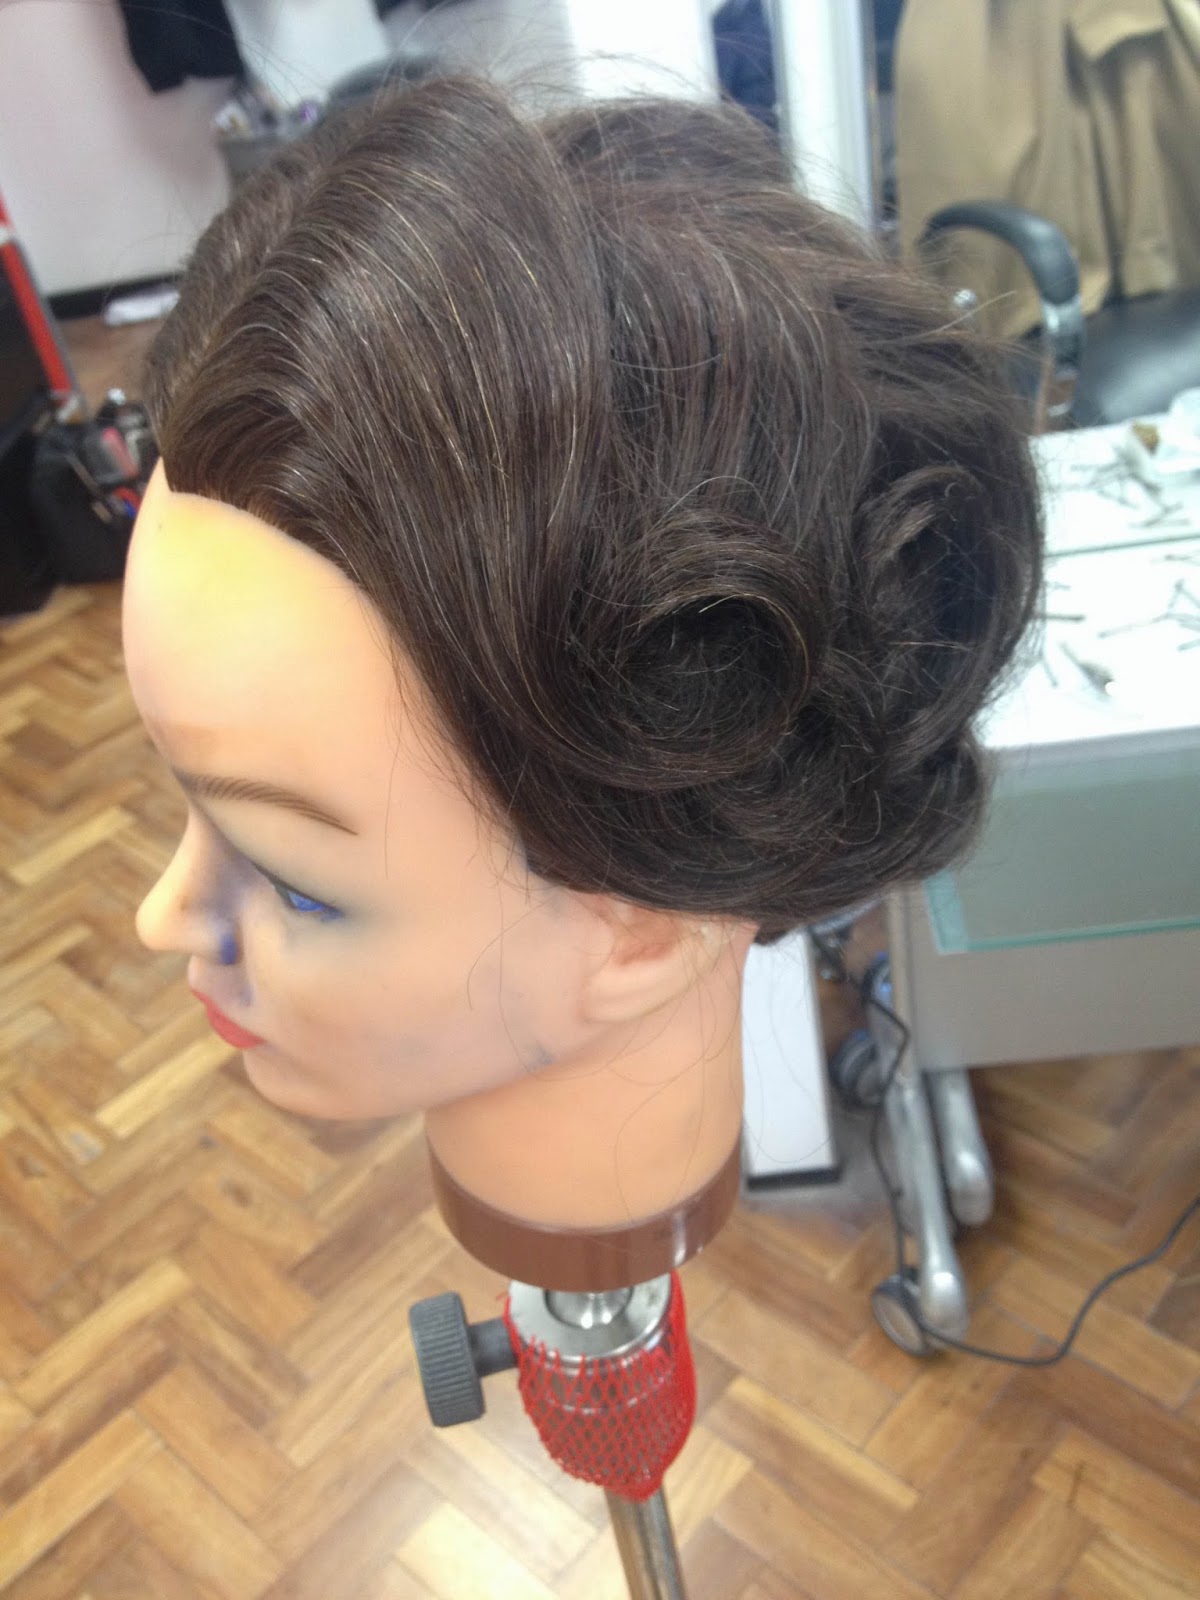
1) Once the hair has set and cooled remove all pins from the back and sides and let the hair down
2) Brush the hair gently to let the curls drop slightly and then you can begin the styling
3) Working from one side, around the back of the head until you reach
the other side and twist the hair upwards, tucking it in to itself and
secure with grips making sure they are hidden 4) You can use your tail comb to assist and to help give it more shape
5) You can then take down the curls at the front and brush them gently
like you did the first time and sweep them down the sides so they form a
nice wave and you can position the ends in pin curl style curls for
decoration. Play around and layer the sections until you are happy. 6) You can use the tail comb to add height and shape at the front of the style too.
Style 2: Glamorous, down style: 1)
Remove all grips and pins to let down the Moira hair style and gently
brush the hair style out going over and under each section of hair for a
full bodied and bouncy waved effect. 2)
Push the front sections forward then back away from the face with the
brush and keep playing with it until you are happy with the outcome
Style 3: messy For this look I simply shook the head forward and back until I achieved this messy, crazy and untamed style.
I
really enjoyed this lesson, especially creating the first and second
style as it is more contemporary than the styles we learnt for Miss
Havisham and Estella and had a glamorous and more polished finish. I
love adding detailing to hair styles such as the pin curls and as a
lover of the Moira character (young and old) in American Horror Story I
would have loved to put this together with some make-up to see the
finished outcome!
1) Clean the area of skin you are applying the mould to to begin with and dry. 2)
Apply ProsAide to the area you are going to apply the wound to and also
apply it to the underside of the mould then wait for this to become
tacky (It will chane from a milky appearance to clear). 3) Press the mould on top of the glue on the skin and apply pressure making sure all edges are adhered to the area properly. 4)
Apply Witch Hazel to a cotton bud and gently rub over the edges of the
mould to dissolve them and make it blend in with the skin properly. 5) Powder the wound before you begin to add colour. 6)
If the wound doesn't match the models actual skin colour then you can
use foundation to fix this and then powder to set, however my mould
fitted with my models skin perfectly. 7) Using the Supra Color you can add colour to the wound to make it look sore or bloody. 8) Use a spatula to scrape out a bit of wound filler and place in the center of the cut. 9) You can then add some blood with a cotton to make it look more fresh. 10) If desired you can splatter on some blood using a brush however I decided to skip this step.
Consultation notes: Model: Rebekah Newman Worked on before - No allergies or contra-indications
I
really enjoyed this lesson and loves working with pre-made moulds. I am
hoping to take prosthetics as a unit for second year and look forward to
working more with this kind of make-up, learning new techniques and
also discovering many of the vast amount of products on the SFX make-up
market to create amazing effects and final outcomes with my skills that I
will develop.
Products: - Brushes - Cotton buds - MAC lip mix in black and red - Illamasqua Neutral palette - Illamasqua Reflection palette - Sculpting powder duo by Illamasqua
I
loved this lesson as we got to try out some make-up looks that we would
possibly be creating similarly on an actual client for an event or for a
fashion shoot. To
save time so both me and my partner could swap I worked over her
foundation she had applied already as well as her eyebrows she had
already. I decided to go for a very bold and dramatic eye teamed with
very dark lips as it is very different to what she usually wear but
keeping the eyes warm, shimmery browns to soften it slightly. I was
really pleased with the out come however with more time I would like to
make-up the whole face: base, eyebrows, contouring, blusher etc. I think
some natural false eyelashes would be a nice finish to this bold look
as well. I felt that the lips weren't as perfect as I would have liked
them to be, I think this is due to not having lip liners in our kit
which I will be purchasing for next year in a variety of versatile
shades to assist with creating looks like this. I think it would have
had a sharper and more crisp outcome if I had used one.
Consultation notes: Model - Rebekah Newman Eyes - No contacts, blue Skin type - Pale, combination skin No allegies or contra-indications
1)
I started by mixing Acute and Dart from the Reflection palette by
Illamasqua on the back of my clean hand. I chose this palette as it has
shimmery tones and it is a cream texture so would go onto the eyelid
nicely. 2) I smoothed the two colours onto the eyelid using an eyeshadow brush so it covered the eyelid right up to the crease. 3) I then used a blending brush to buff this in and blend it up towards the brow bone. 4) I then took the Neutral palette and applied Vintage (A gold shade) onto the center on the lid for a highlight 5) For depth I used a matte brown from the Neutral palette and using an eyeshadow brush defined the crease 6)
I took a fine angled brush and used a matte black from the Neutral
palette and used it close to the top lash line to create an eyeliner
effect, winging it out along where the natural eye shape followed 7)
Using Vintage eyeshadow and a brown eyeshadow I followed it close below
the lower lash line so the bottom of the eye didn't look too bare
without the harshness of a khol eyeliner 8) I used the highlight from the Sculpting powder duo by Illamasqua to highlight the underneath of the brow bone. 8)
For the lips I took a lip brush and mixed black and red lip mix by MAC
on the back of my hand until I was pleased with the shade and applied to
the lips starting in the center and then filling out towards the edges.


